Introduction
In this guide I will show you how to setup any OS for installation on virtualbox.
What is a Virtual Machine?
A virtual machine is a virtual environment that functions like a computer with it’s own CPU, memory, storage, etc. This is very useful to try out linux distros without installing them on your device. VirtualBox is one of the most popular virtulization applications for running VMs.
Requirements:
- VirtualBox installed on your system - If notw, download from here and install it.
- ISO of the OS you want to install - In this guide I will be using the Arch Linux ISO.
Process:
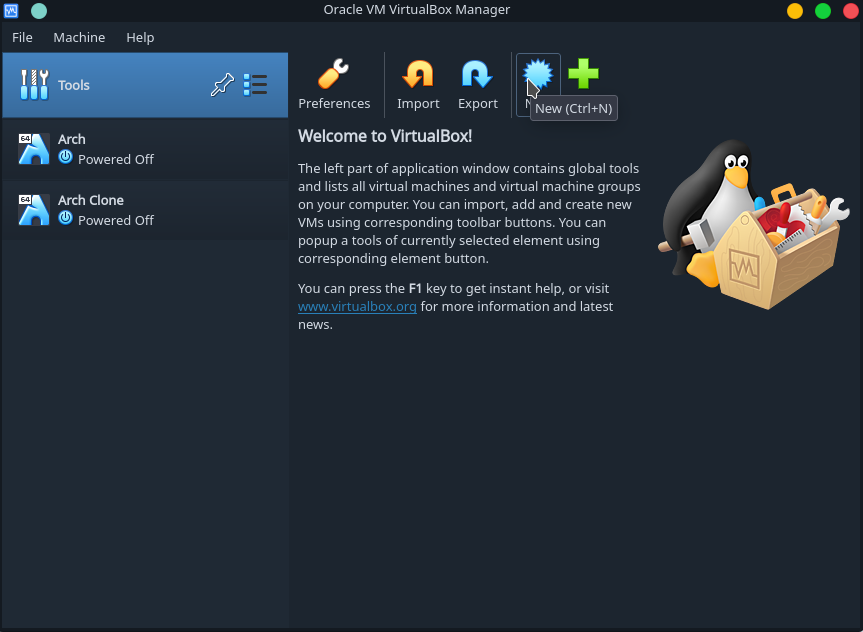
Step 1: Creating a new virtual machine
Click on New option in virtualbox
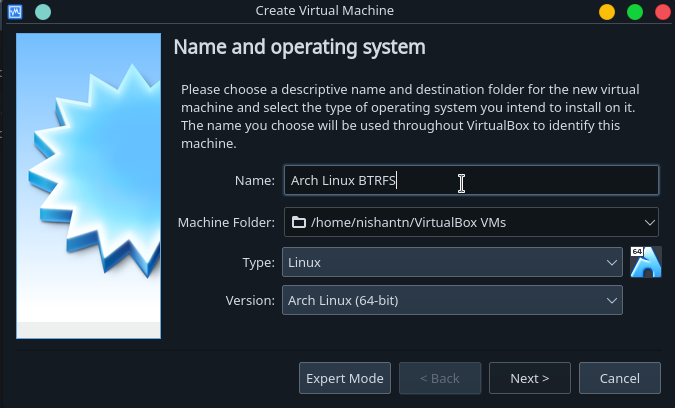
Step 2: Set a name for your VM
Select a name and click next
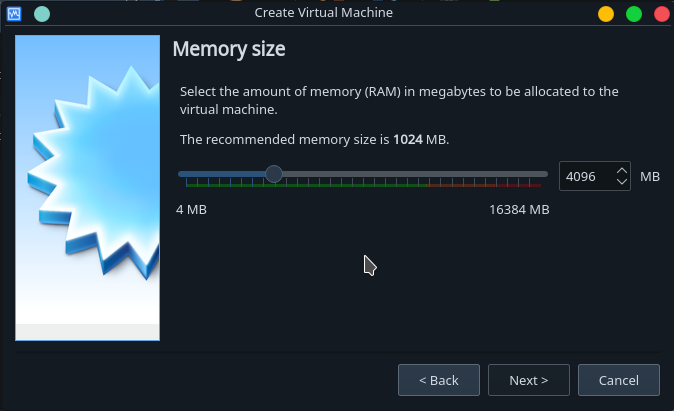
Step 3: Choose RAM for VM
Choose RAM according to the requirements of your OS. Ideally you can choose upto the green mark without any problems.
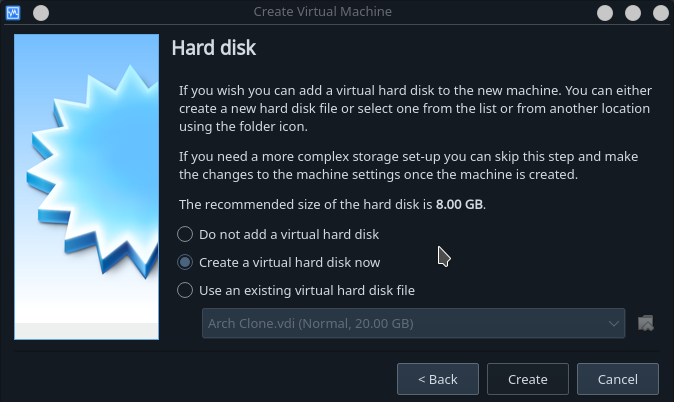
Step 4: Choose hard disk type
Choose create a virtual hard disk now and click next
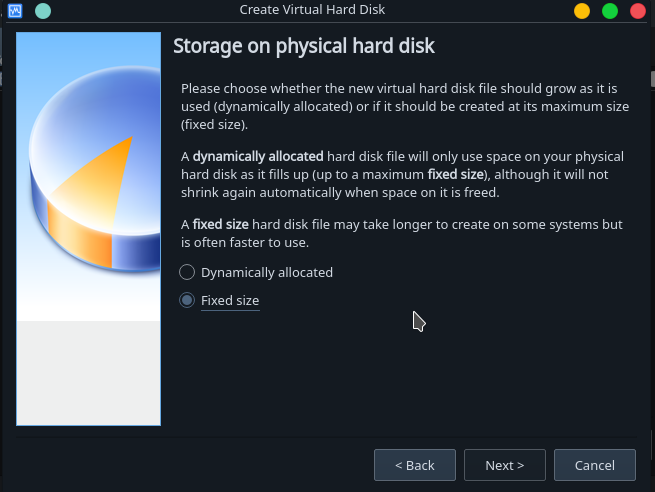
Step 5: Select hard disk storage type
I have selected fixed storage, you can choose dynamic if you want.
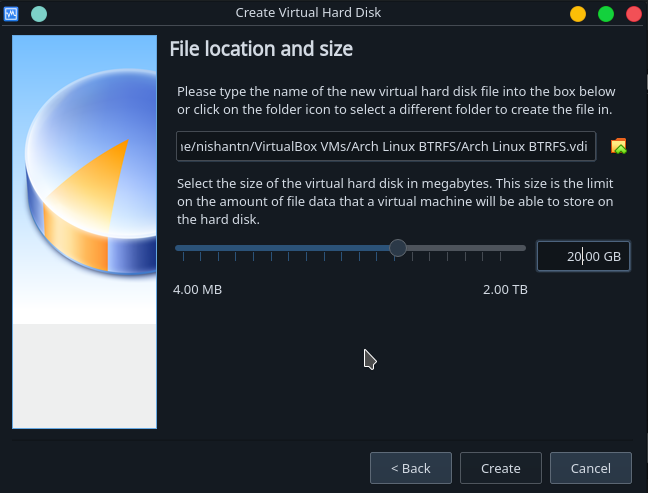
Step 6: Choose your drive size and location
Again, choose this based on the requirements of your OS. For Arch, choose atleast 15-20 GB if you intent to use the system for sometime. (Minimum 2GB for base install)
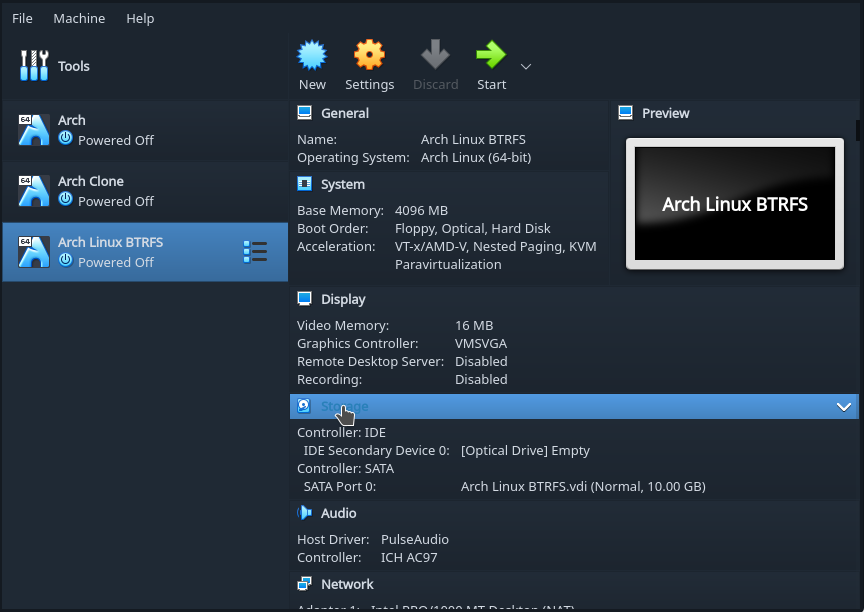
Step 7: Adding ISO to storage devices
Click on details and then Storage
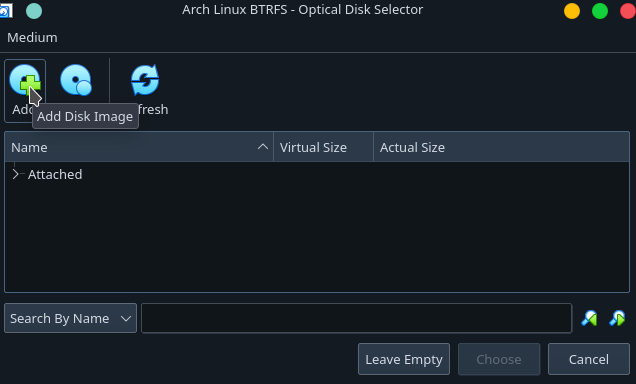
Now click the add optical drive button
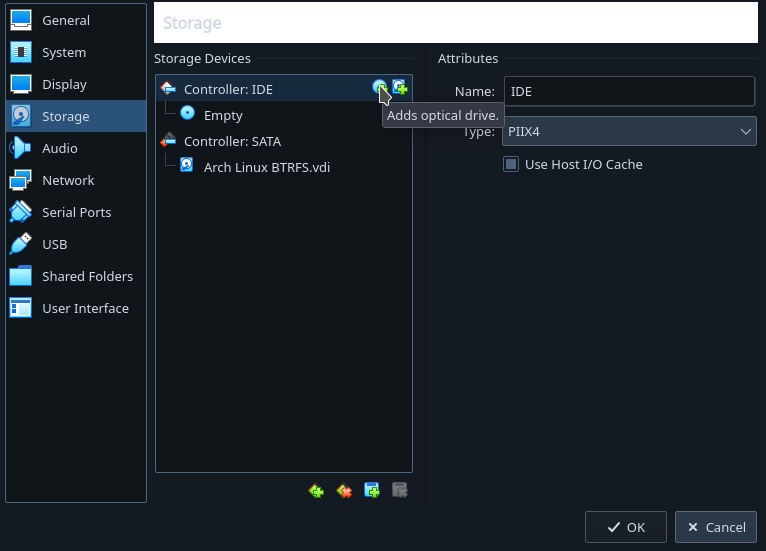
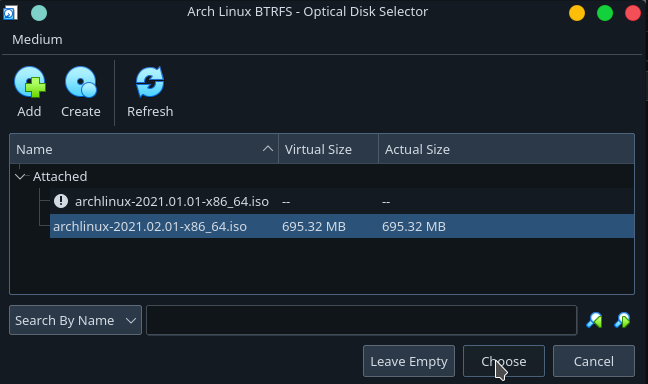
Click Add Disk Image and select the Arch iso file you downloaded previously
Click choose after selecting the file
Step 8: Enabling EFI
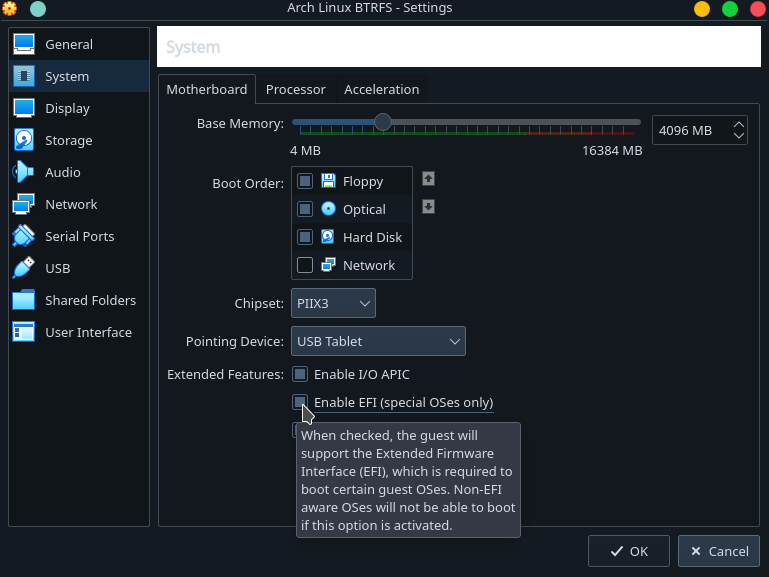
Most modern systems use UEFI to connect bettween firmware and OS. The boot partition ofr the same is called EFI which allows upto 128 partitions on a single drive. We need to enable this on the VM.
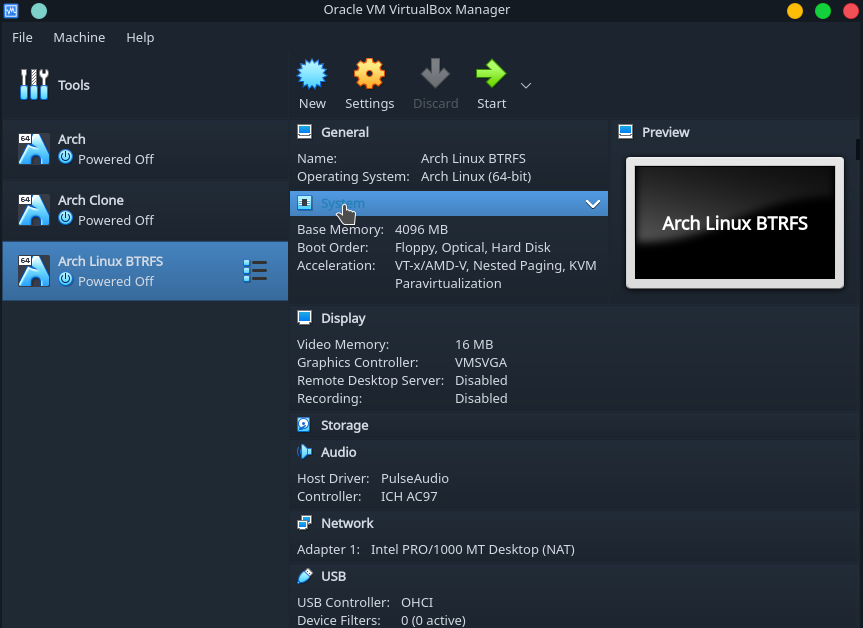
First click on system:
Now click on enable EFI and then click OK:
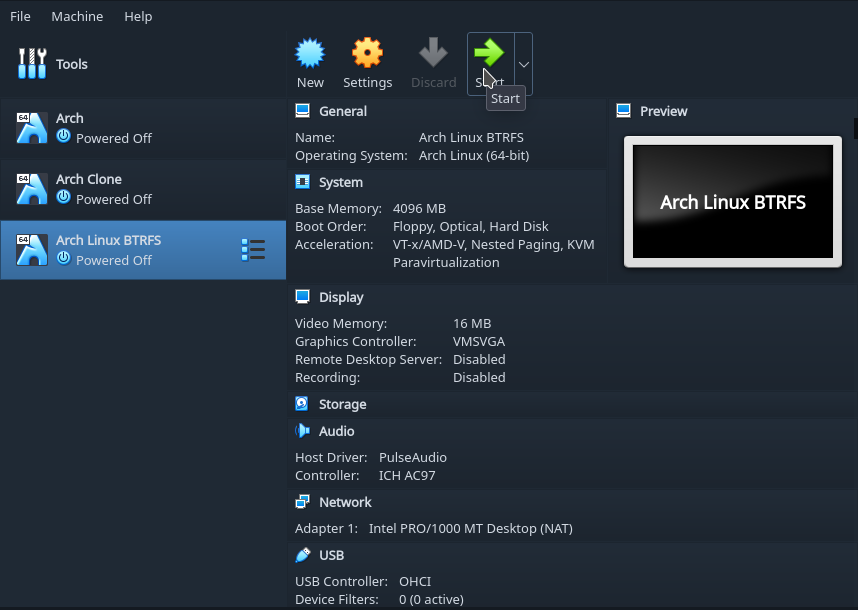
Step 12: Starting the VM
Click the Start button
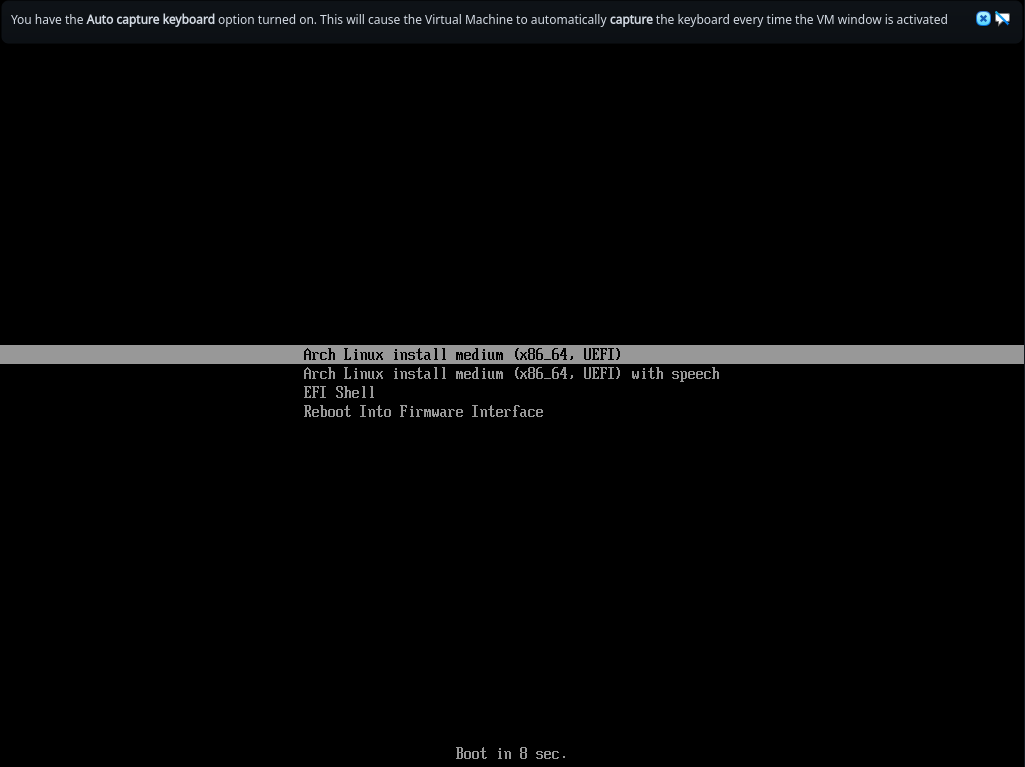
Step 13: Starting live environment/installer
Since Arch does not have a live environment, you must start the installer by selecting the first option.
Step 14: Final Screen
You should see a sreen like this one you load up Arch. Similarly if you loaded a different distribution, you might see a desktop of the live environment instead.
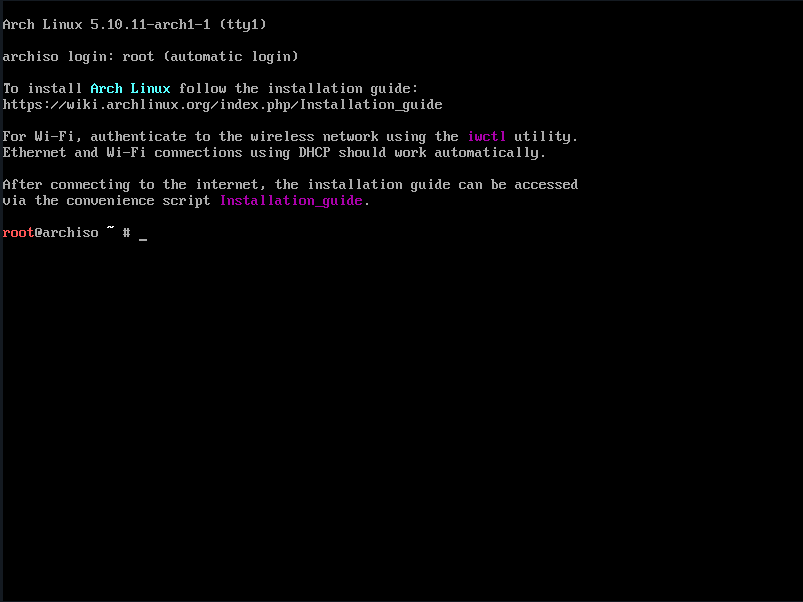
You have successfully created a virtual machine! You can now to ahead and install your required OS.
Thank you!